If you’ve ever admired intricate nail designs but felt intimidated by the idea of doing them yourself, worry no more. With a little creativity and some fundamental tools, you can achieve stunning nail art right at home. In this article, we will explore five straightforward yet chic nail designs that don’t require professional skills but still deliver a salon-quality finish.
The Classic French Tip: A Timeless Favorite

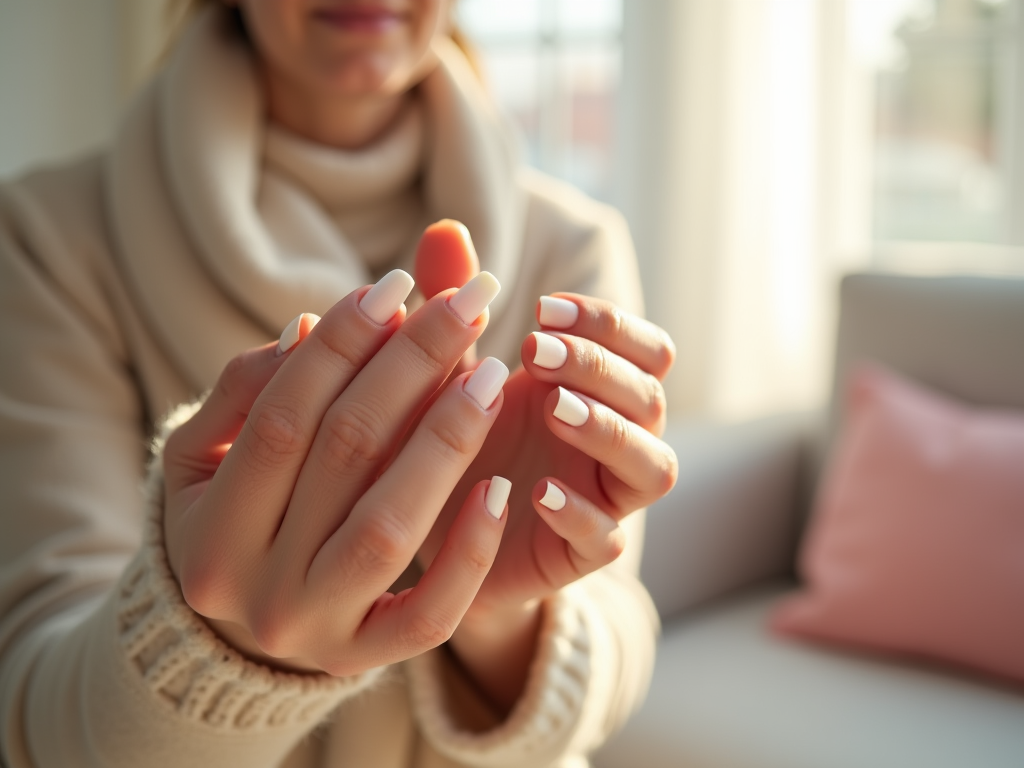
The French tip is a staple in the world of nail art and for a good reason. This elegant design never goes out of style and suits all occasions, from casual hangouts to formal events. To create this look, start by applying a base coat to protect your nails. Follow it up with a sheer nude or pink polish that serves as the canvas. Once dry, use white nail polish to carefully paint the tips of your nails. You can use a piece of tape as a guide for perfect, straight lines. Finish with a topcoat for a glossy look. This design’s simplicity makes it a great starting point for beginners.
Polka Dots: Fun and Flirty
Polka dots are not just for fashion but can be an adorable addition to your nails. Begin by choosing two contrasting colors for maximum visual impact, one for the base and one for the dots. Apply the base color and let it dry completely. Use a dotting tool or the end of a bobby pin to create dots on your nails. For the best results, dip your tool into the polish each time you make a dot. You can vary the size and color of the dots for a more personalized look. Seal with a clear topcoat to protect your design and give it an extra shine.
Gradient Nails: A Soft, Dreamy Effect
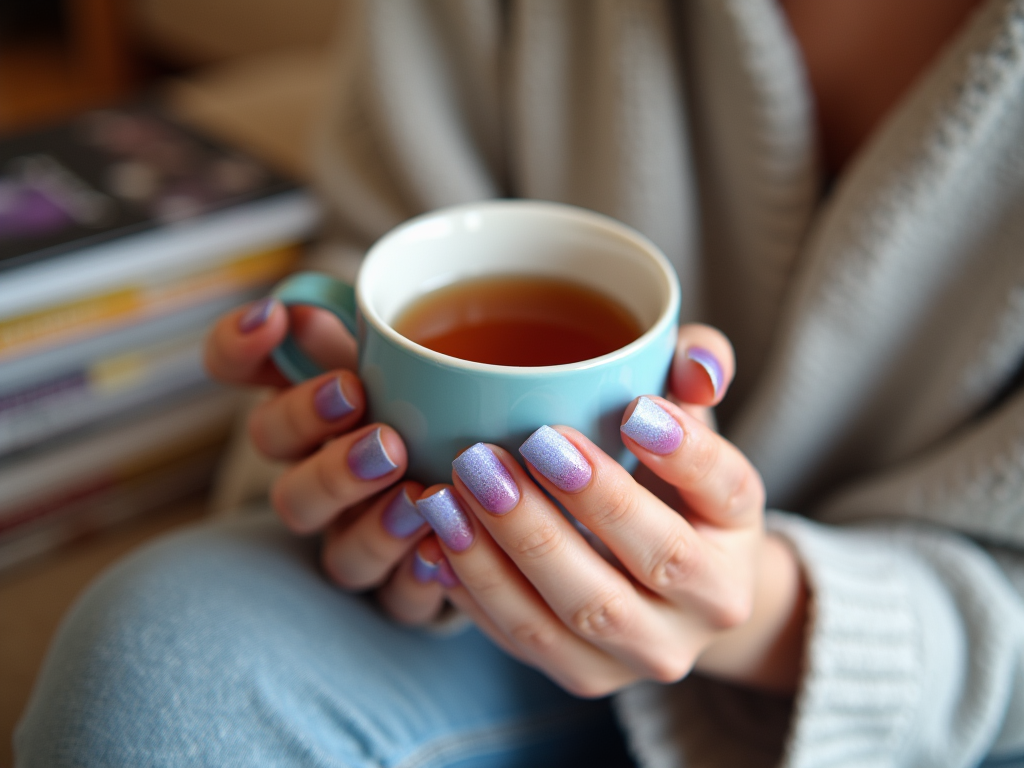
The gradient nail technique, also known as ombre, adds a modern twist to your nail art. Start by picking two or more complementary colors. First, paint your nails with the lightest color as a base. On a makeup sponge, apply the colors you’ve chosen in stripes, slightly overlapping each other. Dab the sponge onto your nails in a rolling motion. You’ll probably need to reapply the polish to the sponge for each nail. Repeat this process for added intensity. Clean the edges with a cotton swab soaked in nail polish remover, then finish with a topcoat.
Striped Perfection: Sleek and Stylish
Stripes can take your nail game to the next level without much hassle. For beginners, striping tape is a must-have as it helps you achieve professional-looking stripes with ease. Choose a base color and apply it to your nails, ensuring they are fully dry before proceeding. Cut the striping tape into suitable sizes and place them vertically or horizontally across your nails. Paint over the nails with a contrasting polish, remove the tape while the polish is still wet, and allow it to dry. This technique opens up endless possibilities by altering the direction and thickness of the stripes. Finish with a topcoat for durability.
Marble Effect: Chic and Sophisticated
Achieving a marble effect on your nails is easier than it seems. This design appears complex but can be completed with a few easy steps. Begin by applying a white base coat. On a piece of plastic wrap, drop blobs of a second color and dab onto the nail to create a marbled look. Alternatively, you can use a toothpick to swirl two colors together directly on the nail. This technique allows for endless creativity as you can mix and match different hues. Finally, apply a topcoat to keep your design looking fresh and vibrant.
Conclusion
Nail art doesn’t have to be reserved for salon visits. With these five simple designs, you can transform your nails into mini canvases of creativity. Whether you’re keeping it classic with French tips or exploring more contemporary looks like the marble effect, there’s a design for every occasion and personality. Not only are these styles budget-friendly, but they also make for a fun and relaxing at-home activity. Gather your supplies, set aside some time, and take your nails from simple to stunning without stepping out of the house.
Frequently Asked Questions
1. What tools do I need for these nail designs?
Basic manicure tools such as a nail file, clippers, and a cuticle stick are helpful. You might also need a dotting tool or a bobby pin for polka dots, makeup sponges for gradient nails, and striping tape for striped designs.
2. How long do these designs typically last?
With the application of a good quality base and topcoat, these designs can last up to a week without chipping. The longevity also depends on how rough you are with your hands and the quality of the nail polish used.
3. How can I prevent smudging while doing nail art at home?
Ensure each layer of polish is dry before applying the next one. You can use quick-dry drops or sprays to speed up the drying process. Avoid activities that might disrupt the nails until the polish is fully set.
4. Can I use regular household items instead of professional tools?
Absolutely. For example, bobby pins can replace dotting tools, and plastic wrap can help achieve marble effects. Creativity in substituting tools can make nail art both accessible and fun.
5. Is it necessary to use a topcoat, and how does it benefit the design?
Applying a topcoat is highly recommended as it seals your design, preventing chipping and enhancing the sheen. It also provides a smoother finish and can prolong the life of your nail art.