Contouring has revolutionized the beauty industry by empowering individuals to enhance their facial features and sculpt their appearance with just a few strokes. In this comprehensive guide, we delve deep into the art of contouring, unraveling its techniques and benefits. Whether you’re a beginner or someone looking to refine your skills, this guide provides everything you need to know to master contouring effortlessly.
What is Contouring?
Contouring is a makeup technique used to define and enhance the structure of the face. It involves using makeup products that are a shade darker than your natural skin tone to create shadows and a lighter shade to highlight the areas you want to bring forward. This technique provides the illusion of depth and angles, creating an intricate definition that enhances natural beauty. By skillfully playing with lights and shadows, contouring can alter the perceived shape of the nose, jawline, cheekbones, and forehead.
Essential Tools and Products for Contouring

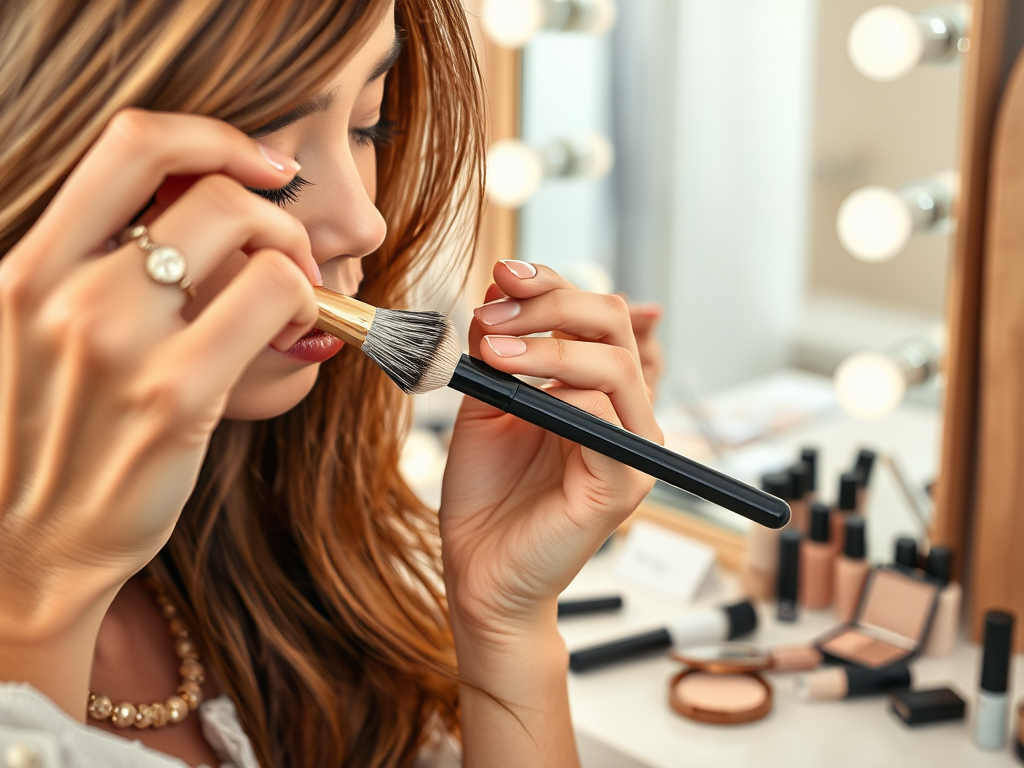
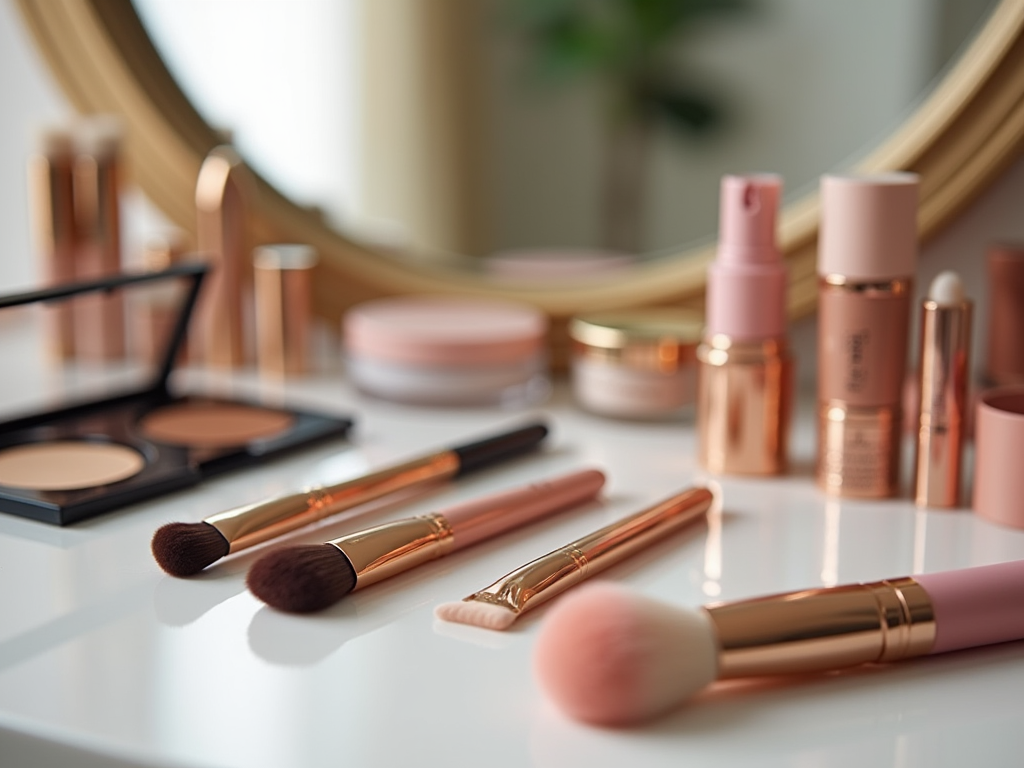
Just like any art form, having the right tools and products is crucial for successful contouring. The primary items you’ll need include a contour palette or stick, a highlighting product, and a set of brushes or sponges. The contour palette usually includes darker shades for shading and lighter hues for highlighting. Brushes with densely packed bristles are ideal for precise application, while blending sponges help achieve a seamless finish. A setting powder is often recommended to ensure your contour stays intact throughout the day.
- Contour palette: Choose a palette that includes a range of shades to match different skin tones.
- Highlight product: Opt for cream or powder highlighters based on your preference and skin type.
- Brushes/sponges: Utilize angled brushes for contouring and blending sponges for a flawless finish.
- Setting powder: Use translucent powder to lock in your contour and highlight for all-day wear.
Step-By-Step Guide to Contour Like a Pro
Mastering contouring involves understanding your facial structure and applying the products strategically. Here’s a structured approach to follow:
Step 1: Prepare Your Canvas
Start with a clean, moisturized face, and apply a foundation that matches your skin tone. This creates a smooth, even base to work on and ensures that the contour products blend effortlessly.
Step 2: Map Your Face
Identify the key areas to contour—under the cheekbones, along the jawline, sides of the nose, and along the hairline. Use a contour stick or brush to apply the darker shade in these areas.
Step 3: Blend for a Natural Look
Blend the contour lines using a damp makeup sponge or a blending brush. Blending is crucial to eliminate harsh lines and ensure the look is seamless and natural.
Step 4: Highlight for Dimension
Apply a highlighting product to the high points of your face—the bridge of the nose, top of the cheekbones, brow bone, and cupid’s bow. This step adds dimension and complements the shadows created by the contour.
Step 5: Set and Finish
Finally, set the contour and highlight using a translucent setting powder. This not only helps in keeping the makeup intact but also reduces shine, giving the overall look a matte finish.
Common Mistakes to Avoid When Contouring
While contouring is a highly beneficial technique, improperly executed, it can lead to an unnatural look. Here are common mistakes to steer clear of:
- 1. Using the wrong shade: Choose a contour shade that is not more than two shades darker than your skin tone.
- 2. Over-blending: While blending is essential, over-blending can erase the contour, defeating its purpose.
- 3. Ignoring face shape: Contour according to your face shape for a more harmonious appearance.
- 4. Excessive product application: Start with a minimal amount of product, as it’s easier to build up than to remove excess.
- 5. Neglecting natural light: Always check your look in natural lighting to ensure it appears natural and balanced.
Conclusion
Contouring is a transformative technique that, when done correctly, enhances natural beauty by accentuating desirable facial features. With the right tools and careful technique, you can sculpt your face like a professional. By following our detailed guide, you’ll be equipped with all necessary knowledge to contour confidently. Remember, practice makes perfect—embrace experimentation with different products and techniques to find what best suits your face shape and skin tone.
Frequently Asked Questions
1. How do I choose the right contour shade?
Choose a contour shade that is just a shade or two darker than your natural skin tone. This ensures the contour looks natural and not overly dramatic.
2. Can contouring be done on all skin types?
Yes, contouring can be adapted for all skin types. However, the choice between cream and powder contouring products should depend on whether your skin is oily, dry, or combination.
3. How often should I replace my contour products?
Typically, powder products can last up to two years, while cream products should be replaced after six months to ensure health and hygiene.
4. Is it necessary to contour every day?
No, contouring is not necessary every day. It depends on your personal preference and the look you wish to achieve for the day.
5. Can contouring be used to slim down the appearance of the face?
Yes, contouring can create the illusion of a slimmer face by adding shadows and highlights in strategic places to modify the perceived structure.