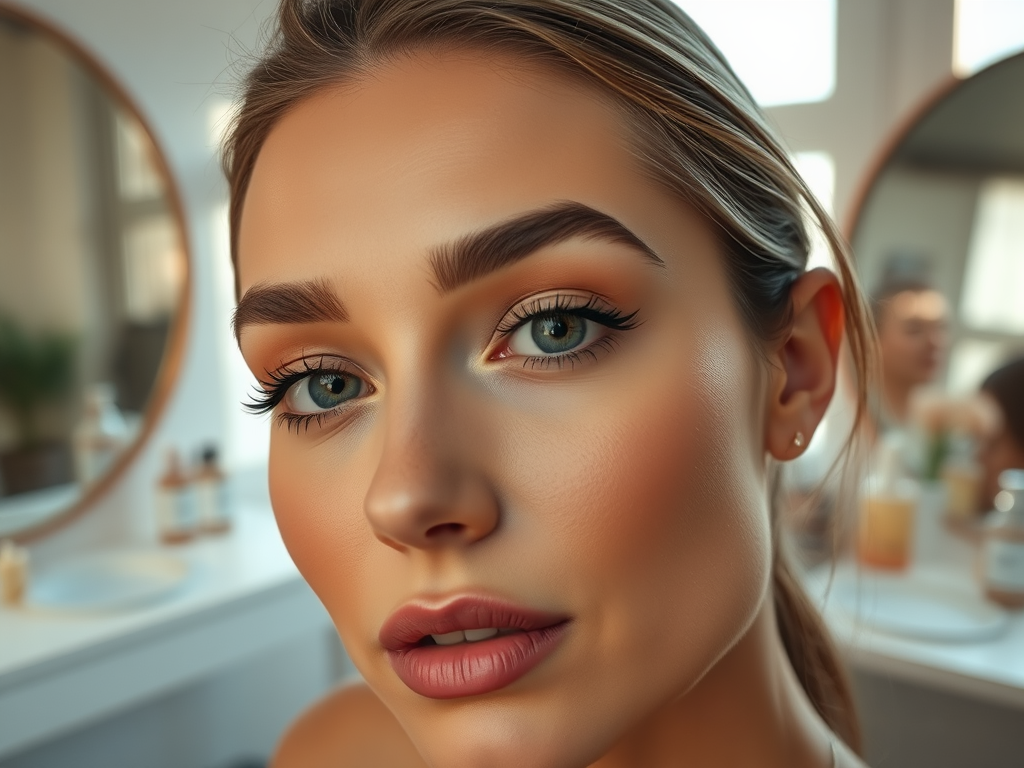
A well-applied lipstick can be the crown jewel of your makeup routine, elevating your entire look from drab to fabulous. Many people underestimate the techniques that can make a significant difference in achieving that perfect pout. From color choice to application technique, understanding each aspect is essential for attaining long-lasting results that withstand the test of time. Whether you’re getting ready for a day at the office, a night out, or just a casual gathering, the right approach can ensure you look your best. This guide explores five easy steps that will help you apply lipstick like a pro, using simple techniques that anyone can master with a bit of practice. Let’s dive in and unlock the secrets to luscious lips that turn heads!
Step 1: Prep Your Lips
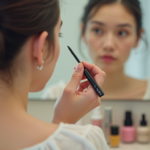
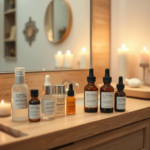
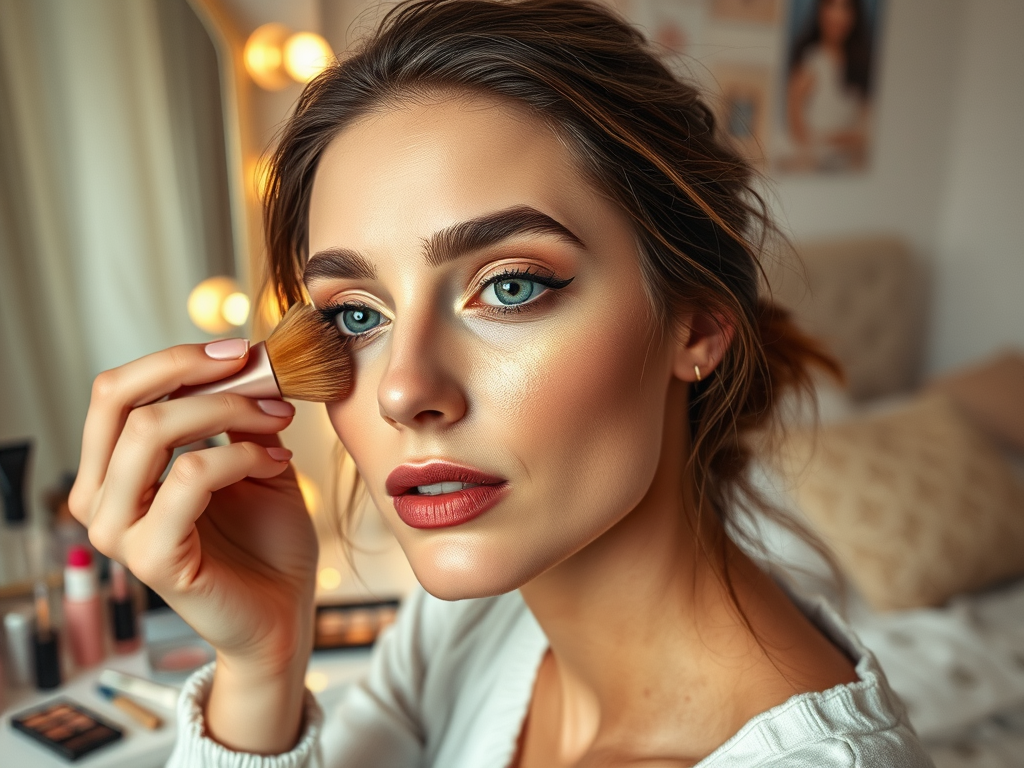
Before you even think about slathering on that gorgeous shade of lipstick, preparing your lips is crucial. It’s more than just a surface-level issue; it sets the stage for how your lipstick will sit and last throughout the day. Start by exfoliating your lips to lift away dead skin, which can hinder the smooth application of your cosmetic product. A lip scrub can do wonders, followed by a moisturizing step to nourish and hydrate your lips. This blend of care will create a perfect canvas for your lip color to adhere to better and appear vibrant. Remember, the prep work is just as important as the final application for achieving that flawless finish.
- Exfoliate with a gentle lip scrub.
- Apply a hydrating lip balm.
- Allow the balm to absorb for a few minutes.
Step 2: Use a Lip Liner
A lip liner is not just an optional bonus; it’s an essential tool in creating beautifully defined lips. This step prevents the dreaded feathering that can occur when lipstick starts to wear off. Using lip liner allows you to shape your lips, making them appear fuller and more symmetrical. Choose a liner that closely matches your lipstick or one that is a shade darker for heightened contrast. The application is straightforward; trace the natural outline of your lips for the best effect. If you want to enhance the longevity of your lipstick, filling in your lips with the liner before adding lipstick can act as a great base.
Picking a lip liner shade that complements your lipstick can elevate your entire makeup look. Here’s a brief guide:
| Skin Tone | Recommended Lip Liner Shades |
|---|---|
| Fair | Soft pink or nude |
| Medium | Rose or mauve |
| Dark | Berry or deep plum |
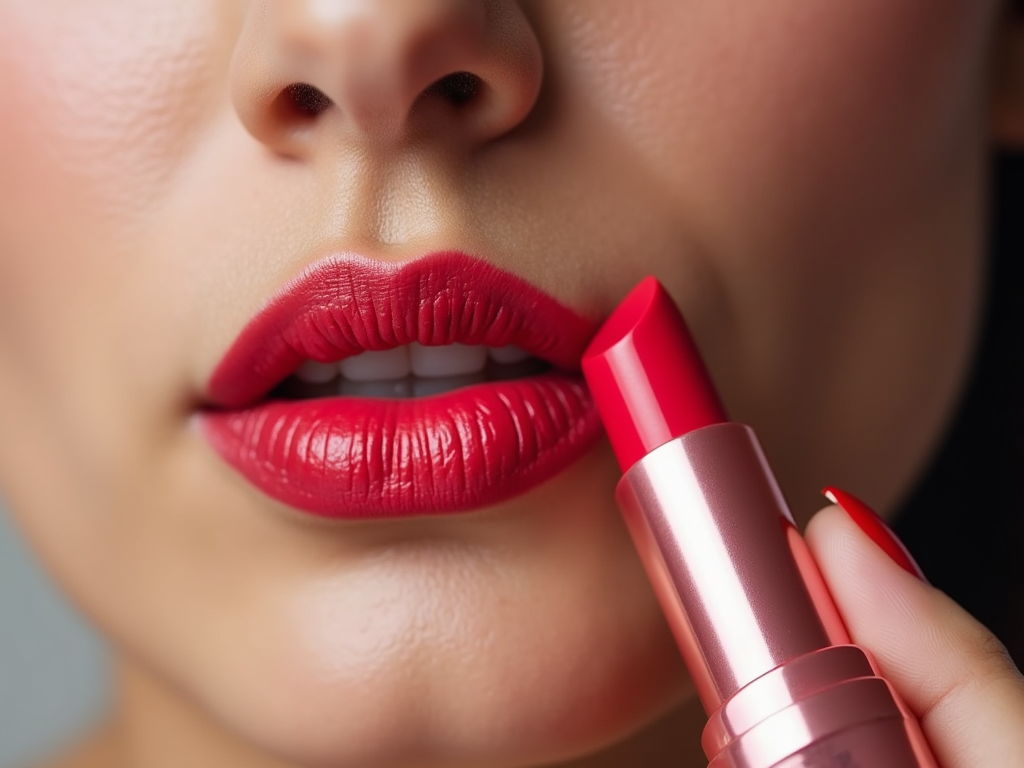
Step 3: Apply Lipstick with Precision
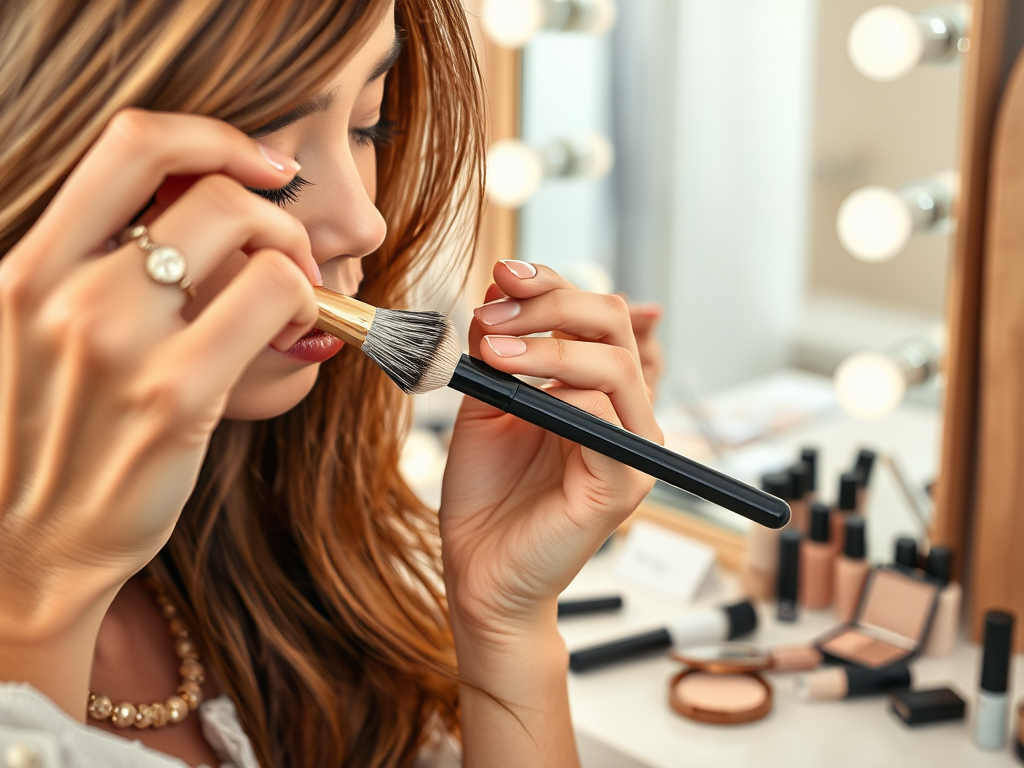
With your lips prepped and lined, you’re ready to dive into the fun part—applying your lipstick! The technique you use can significantly affect the overall look, so consider employing a lip brush for precision. Start from the center of your lips and work outwards, ensuring even coverage without crossing the lines you’ve made with your lip liner. If you prefer using the lipstick bullet itself, maintain a steady hand for a similar effect. The key to avoiding mishaps is to take your time and enjoy the application process. Remember, practice makes perfect, and soon you’ll be able to apply lipstick like a seasoned pro with minimal effort.
- Use a lip brush for detailed application.
- Apply lipstick from the center outward.
- Touch up any uneven spots with a Q-tip.
Step 4: Blot and Set
Setting your lipstick is a game-changer, especially if you’re aiming for a look that lasts through meals, drinks, and social interactions. Blotting your lips not only removes excess product but can also provide a more matte finish if desired. After applying your lipstick, press a thin tissue between your lips to absorb any excess color. For those extra special occasions or long days, don’t hesitate to apply a light dusting of translucent powder over your lips. This technique acts as a seal, locking in the color and preventing it from smudging throughout your day. Blotting is a small yet significant step that shouldn’t be overlooked.
Understand the importance of this step by incorporating it into your routine:
- Gently press a tissue against your lips.
- Hold for a few seconds before pulling away.
- Optional: Lightly dust translucent powder on top.
Step 5: Add Finishing Touches
The final touch can make all the difference when it comes to enhancing your lipstick look. You might want to add a touch of gloss for a luscious shine or opt for a dab of highlighter in the center of your lips to give an illusion of fullness. Another option is to layer a slightly lighter lipstick shade in the center, blending it outward for a gradient effect. Ending your lip application with this flair adds a bit of fashion-forward fun and can be adjusted depending on the occasion. Like all makeup, feel free to experiment with these finishing touches to find the ideal look that suits your style.
Conclusion
With these five simple steps, achieving beautifully applied lipstick is not only possible but also enjoyable. The artistry of lipstick application lies in the details—from prepping your lips to adding those finishing touches that make your look complete. Remember to practice regularly, as familiarity will breed confidence in your application technique. Each person’s lips and preferences are unique, so feel free to tailor this guide to suit your style. In time, you’ll discover the tricks that resonate with you and your makeup routine, allowing you to flaunt your lip looks with pride!
Frequently Asked Questions
- What should I do if my lipstick dries out my lips? Consider using a hydrating lip balm before applying lipstick or choose a moisturizing lipstick formula.
- How do I choose the right lipstick shade for my skin tone? Opt for shades that complement your complexion—warm skin tones look great in peachy or golden shades, while cool tones may prefer pinks and reds.
- Can I wear lipstick every day? Absolutely! Just ensure you take care of your lips by moisturizing regularly to prevent drying.
- What’s the best way to remove long-lasting lipstick? Use a gentle makeup remover or a mixture of coconut oil and baby wipes for effective removal without drying out your lips.