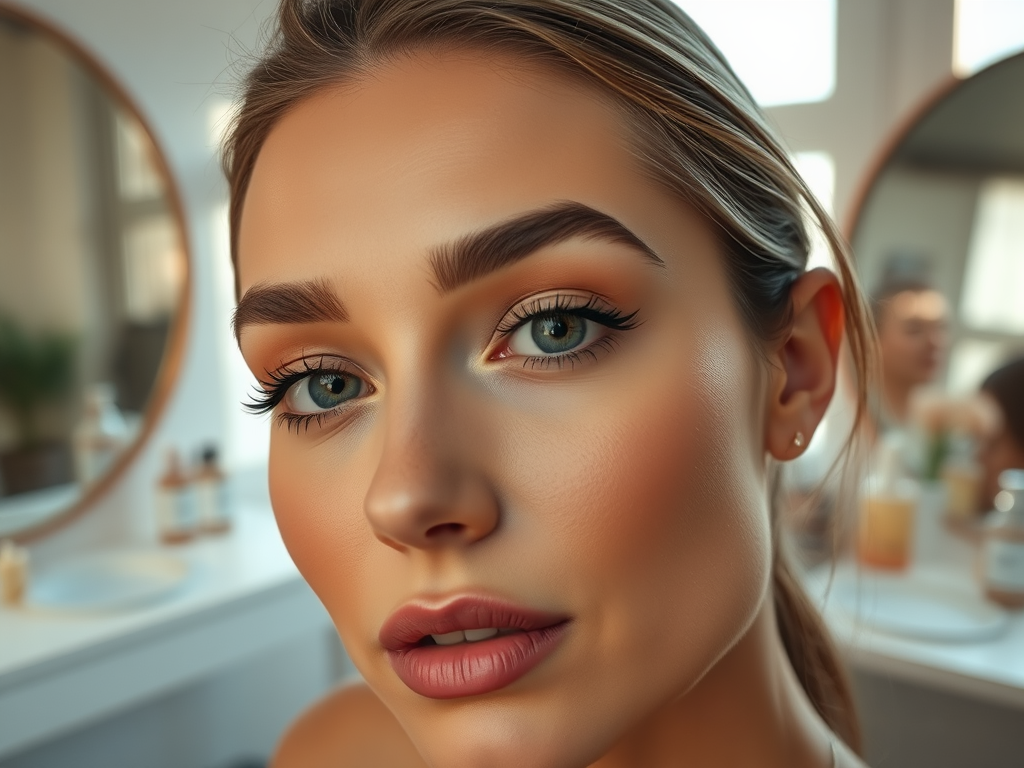
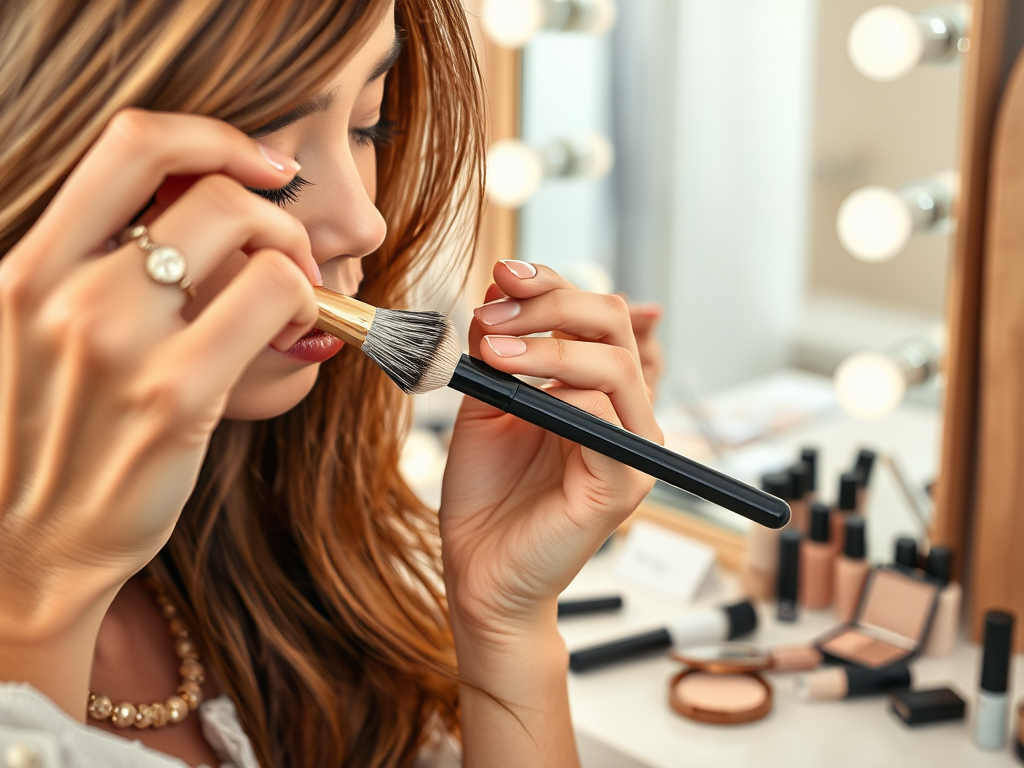
Contouring is a makeup technique that defines the face, enhances bone structure, and gives the illusion of a more sculpted face. Every face shape requires a unique approach for contouring to highlight the best features and minimize any areas that you may feel need a little softening. In this article, we’ll discuss how to contour based on your individual face shape, whether it’s oval, round, square, heart, or diamond. This step-by-step guide will ensure you know exactly where to apply your contour, blush, and highlight products to emphasize your natural beauty.
Oval Face Shape
If you have an oval face shape, your face is longer than it is wide, with a slightly rounded jawline that’s narrower than the cheekbones. The goal here is to slightly enhance your natural face shape without overemphasizing any features. Here are the steps you should take for contouring an oval face:
- Begin by applying contour on the sides of your forehead and along your hairline to create a more rounded appearance.
- Apply contour under your cheekbones, starting from the ears and blending towards the corners of your mouth, but stopping midway.
- Subtly contour your jawline to add slight definition.
- Finish with a touch of highlighter on the high points of your face: your forehead’s center, brow bones, upper cheekbones, and the bridge of your nose.
Round Face Shape
Those with a round face shape tend to have full cheekbones and a rounded chin with few angles. The contouring goal is to elongate the face and create more structure. For a round face, follow these guidelines:
- Contour the sides of your forehead and along your temples to create the illusion of a narrower frame.
- Contour underneath your cheekbones, from the ears to the ends of your mouth, but angling downward to elongate the face.
- Apply contour along your jawline and beneath the chin to create a shadow that gives a more chiseled look.
- Highlight the center of your forehead, under the eyes, and on the chin to bring forward these areas.
Square Face Shape
For those with a square face shape, the forehead, cheekbones, and jawline run almost parallel. The aim with contouring here is to soften the naturally angular features. Here’s how to contour a square face:
- Start with a contour on the sides of your forehead to soften the hairline.
- Contour under the cheekbones beginning from the ears and blend towards the mouth, curving the line slightly to soften the angles.
- Apply contour to soften the angles of your jawline, focusing on the sides rather than the chin.
- Highlight your forehead center, the length of the nose, and the top of your cheekbones to draw attention to the center of your face and away from the sides.
Heart Face Shape
The heart face shape features a wider forehead and cheekbones with a narrow chin. Contouring for this face shape focuses on balancing the proportions and minimizing the width of the upper part of the face. To contour a heart-shaped face:
- Apply contour along the sides of your forehead and temples to narrow the upper part of the face.
- Contour beneath your cheekbones from the ear to mid-cheek, and blend the product upwards to lift the face.
- Sweep contour lightly along the jawline and chin to enhance the lower part of your face.
- Highlight your forehead’s center, underneath the eyes, the middle of the chin, and on the cheekbones to emphasize the center line of the face.
Diamond Face Shape
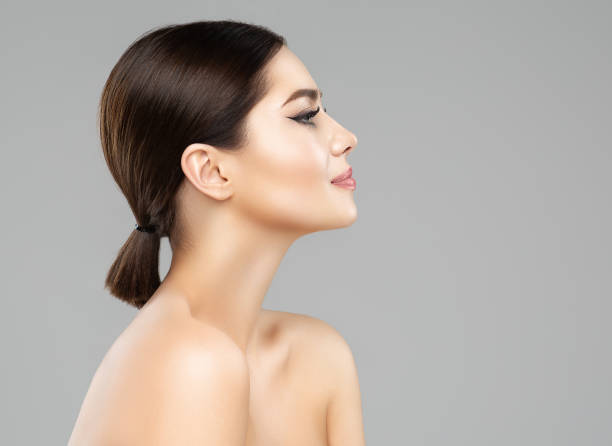
With a diamond face shape, your cheekbones are the widest part of your face, with a narrow forehead and jawline. The objective in contouring a diamond face shape is to highlight the cheekbones while reducing the width around this area. Undertake the following steps to contour a diamond-shaped face:
- Contour the lower part of your cheekbones to reduce the width of your face’s central area.
- Apply contour along the hairline on the narrow parts of your forehead to create more balance.
- Blend contour on the jawline, focusing on the area under the chin to add fullness.
- Place highlight on the highest part of your cheekbones, center of your forehead, and chin to bring these areas forward.
Conclusion
Contouring is a powerful tool in the makeup arsenal that can enhance your natural face shape when done correctly. Whether you have an oval, round, square, heart, or diamond face shape, following specific patterns of shading and highlighting can create the desired effect of a more balanced and defined appearance. Remember, makeup is an art, and practice makes perfect. Experiment with intensity and blending to find the most flattering contour for your unique features. Above all, ensure it complements your natural beauty and makes you feel confident and spectacular!
FAQs
Which type of contour product is best for beginners?
Powder contour kits are often recommended for beginners as they are easier to blend and build up intensity gradually.
Can I contour my face every day, or is it too harsh for the skin?
Contouring daily is a personal choice and, as long as you’re using quality products and removing your makeup properly each day, it shouldn’t be harsh on the skin. However, giving your skin a break from makeup occasionally is beneficial.
Is it necessary to use a highlighter when contouring?
While not absolutely necessary, using a highlighter in conjunction with contouring can enhance the sculpting effect by adding contrast and bringing forward certain areas of the face.
How do I determine my face shape?
You can determine your face shape by pulling your hair back, looking straight into the mirror, and tracing the outline of your face. Compare the shape you’ve outlined with the typical face shapes to find your match.
What is the most important aspect to remember when contouring?
The most important aspect of contouring is blending. Harsh lines can look unnatural and counteract the purpose of contouring, which is to create subtle shadows and highlights for a natural-looking sculpt.
